Connecting Creativity, Nutrition, and Teamwork Through Playful Learning
Pizza is a crowd favourite — and it’s also a perfect learning tool. The Make Your Own Pizza Printable Kids Drawing Activity turns a simple art prompt into a multi-sensory experience that bridges imagination, planning, and real-world cooking skills.
By combining this printable with an actual cooking session, children don’t just draw their dream pizza — they design, plan, collaborate, and then bring it to life! This activity supports multiple outcomes in the My Time, Our Place framework, linking art, numeracy, language, and wellbeing in a deliciously fun way.
🎨 Step 1: Start with Creative Planning
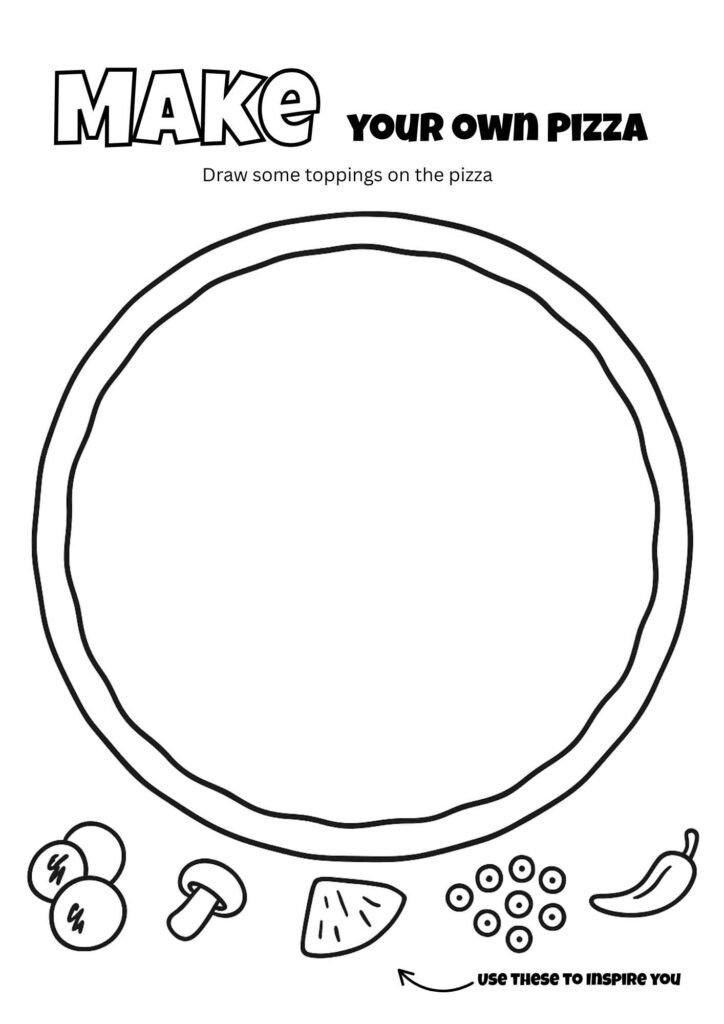
Begin by handing out the Make Your Own Pizza printable. Ask children to imagine and draw their perfect pizza — the crust, sauce and toppings,
Encourage individuality:
- What’s your dream flavour?
- Would you add pineapple, mushrooms, or something wild like marshmallows?
This stage develops Outcome 1 (Identity) and Outcome 4 (Learning) as children express personal tastes, experiment with design, and make creative decisions.
For mixed-age groups, this step can last 15–20 minutes and works beautifully as a calm transition or small-group activity before lunch or afternoon tea.
🧠 Step 2: Turn Art into Planning and Problem-Solving
Now comes the clever part — shift from drawing to planning. Have children translate their pizza designs into real-world decisions.
You can guide them through:
- Ingredient Lists – Write down what’s needed for their design (sauce, cheese, toppings).
- Quantities – Estimate how much of each ingredient they’ll need.
- Budgeting – Discuss cost and make simple comparisons (“Cheese is $4 for a bag; tomatoes are $3 — which gives more servings?”).
- Prioritising – If you can’t get every topping, what’s most important to include?
This process encourages numeracy, literacy, and critical thinking, reinforcing the “plan–do–review” approach central to My Time, Our Place learning cycles.
Children also practise decision-making and compromise, developing life skills that go well beyond the kitchen.
🍅 Step 3: Make It Real – The Cooking Session
Once everyone has their plan, it’s time to bring it to life!
Cooking can happen in your OSHC kitchen, a classroom kitchenette, or even outside on portable pizza ovens or BBQ plates.
Here’s how to make it simple and safe:
- Use pre-made bases or wraps for younger groups.
- Provide small bowls of toppings for choice and hygiene.
- Encourage hand-washing and safe handling.
- Let each child assemble their own mini pizza based on their drawing.
As they build, invite reflection:
- “Did your real pizza look like your drawing?”
- “What changed once you started cooking?”
- “How did you decide how much sauce or cheese to use?”
This step links beautifully to Outcome 3 (Wellbeing) — promoting healthy choices, food awareness, and confidence with practical life skills.
🧑🍳 Step 4: Add Teamwork and Sharing
Turn the cooking time into a collaborative group experience.
Assign small roles — base prep, sauce spreading, topping selection, and oven monitor (with adult supervision).
Encourage social interaction and teamwork:
- Work in pairs to build half-and-half pizzas.
- Create “community pizzas” where everyone adds one topping.
- Hold a friendly Pizza Showcase where kids present their creations, explaining why they chose certain ingredients or colours.
This step develops Outcome 2 (Community) and Outcome 5 (Communication) as children collaborate, explain choices, and celebrate each other’s creations.
It’s also a natural confidence boost — children love seeing their ideas turn into something real (and tasty!).
🌈 Step 5: Reflect and Celebrate
Once the pizzas are cooked and eaten, invite children to reflect on their experience.
Reflection questions can include:
- “What part of your plan worked best?”
- “What surprised you when cooking?”
- “If you could do it again, what would you change?”
You might even ask them to redraw their pizza after cooking, comparing their original design to the finished result — reinforcing the idea that creativity and learning grow through reflection.
📋 MTOP Learning Links
The Make Your Own Pizza activity connects to all five outcomes in the My Time, Our Place framework:
- Outcome 1: Identity – Expressing personal tastes and individuality through design.
- Outcome 2: Community – Collaborating, sharing, and celebrating together.
- Outcome 3: Wellbeing – Building positive relationships with food and healthy choices.
- Outcome 4: Learning – Planning, estimating, and applying creative thinking.
- Outcome 5: Communication – Discussing ideas, giving feedback, and presenting results.
🧺 Practical Tips for Educators
- Prepare toppings in advance for smoother flow.
- Keep paper towels handy for quick clean-ups.
- Print name labels for each child’s pizza or tray.
- Encourage food diversity — include vegetarian, dairy-free, or allergy-safe options.
- Save finished drawings and reflection sheets as evidence for MTOP documentation or portfolio displays.
🖍️ Ready to Get Started?
Bring learning, creativity, and cooking together in one fun session!
👉 Download the Make Your Own Pizza Printable Activity Here
Print the sheet, grab some ingredients, and watch as your group’s creativity rises — just like a perfectly baked pizza.